

Friday, Saturday, Monday, any night can be pizza night when it only takes 25-30 minutes to make the pie!
I am an absolute pizza lover. I mean, who among us isn’t? If I had it my way I would be eating pizza multiple times a week and it would NOT be gluten-free. BUT I unfortunately do need to follow a gluten-free diet in order to feel and operate my best. I am always on the hunt for local gluten-free pizza. If you are someone who needs to eat gluten-free due to underlying disease or other medical reasons you know that gluten-free food items from restaurants are often not truly GF unless the establishment is a certified kitchen. SO, just because you find a pizza joint offering GF options it doesn’t always mean it will be an option. Over the years I have turned my attention to making homemade pizzas that I know are going to meet my dietary needs. I finally feel like I have found something that works as far as requiring minimal effort, minimal ingredients, and minimal time.
I am not going to lie, this crust is of course not the equivalent of your local pizza shop’s cheese-stuffed gluten-filled, and puffy goodness, but for a gluten-free crust I think that it definitely gets the job done! One of the things that I love most about my pizza crust is that it can be made to work with many variations. If you are someone who likes to add seasonings, yeast, or toppings into the crust you can most certainly do that with this recipe. I personally keep it pretty simple most of the time and usually only add garlic and maybe some basil to the crust mix. ALSO if you know what Brazilian cheese bread (pao de Queijo) is you know that it is one of the most delicious GF items in the world. I love the Brazi Bites brand because they are super easy and delicious. I like to add a few of these buns to the top of my crust when I pre-bake it. If you wanted to get really fancy you could line the pizza with them and create a sort of stuffed crust.
The Recipe:
- 1.5 C. All Purpose Gluten-Free Flour Blend (I use the Namaste blend)
- 1 Large Egg
- 2.25 tsp. Baking Powder
- .25 tsp. Salt
- 3/4 to 1 C. Water (this will depend on how wet you want your crust to be. I have found that it is easier to push the crust out and cover my whole baking pan when the crust is wetter)
- Any additional ingredients that you wish to include
The Steps:
- Preheat the oven to 350°F
- Add the dry ingredients to a bowl
- Add the egg and water and mix until well combined
- Grease a pan of your choice (I use a standard baking sheet)
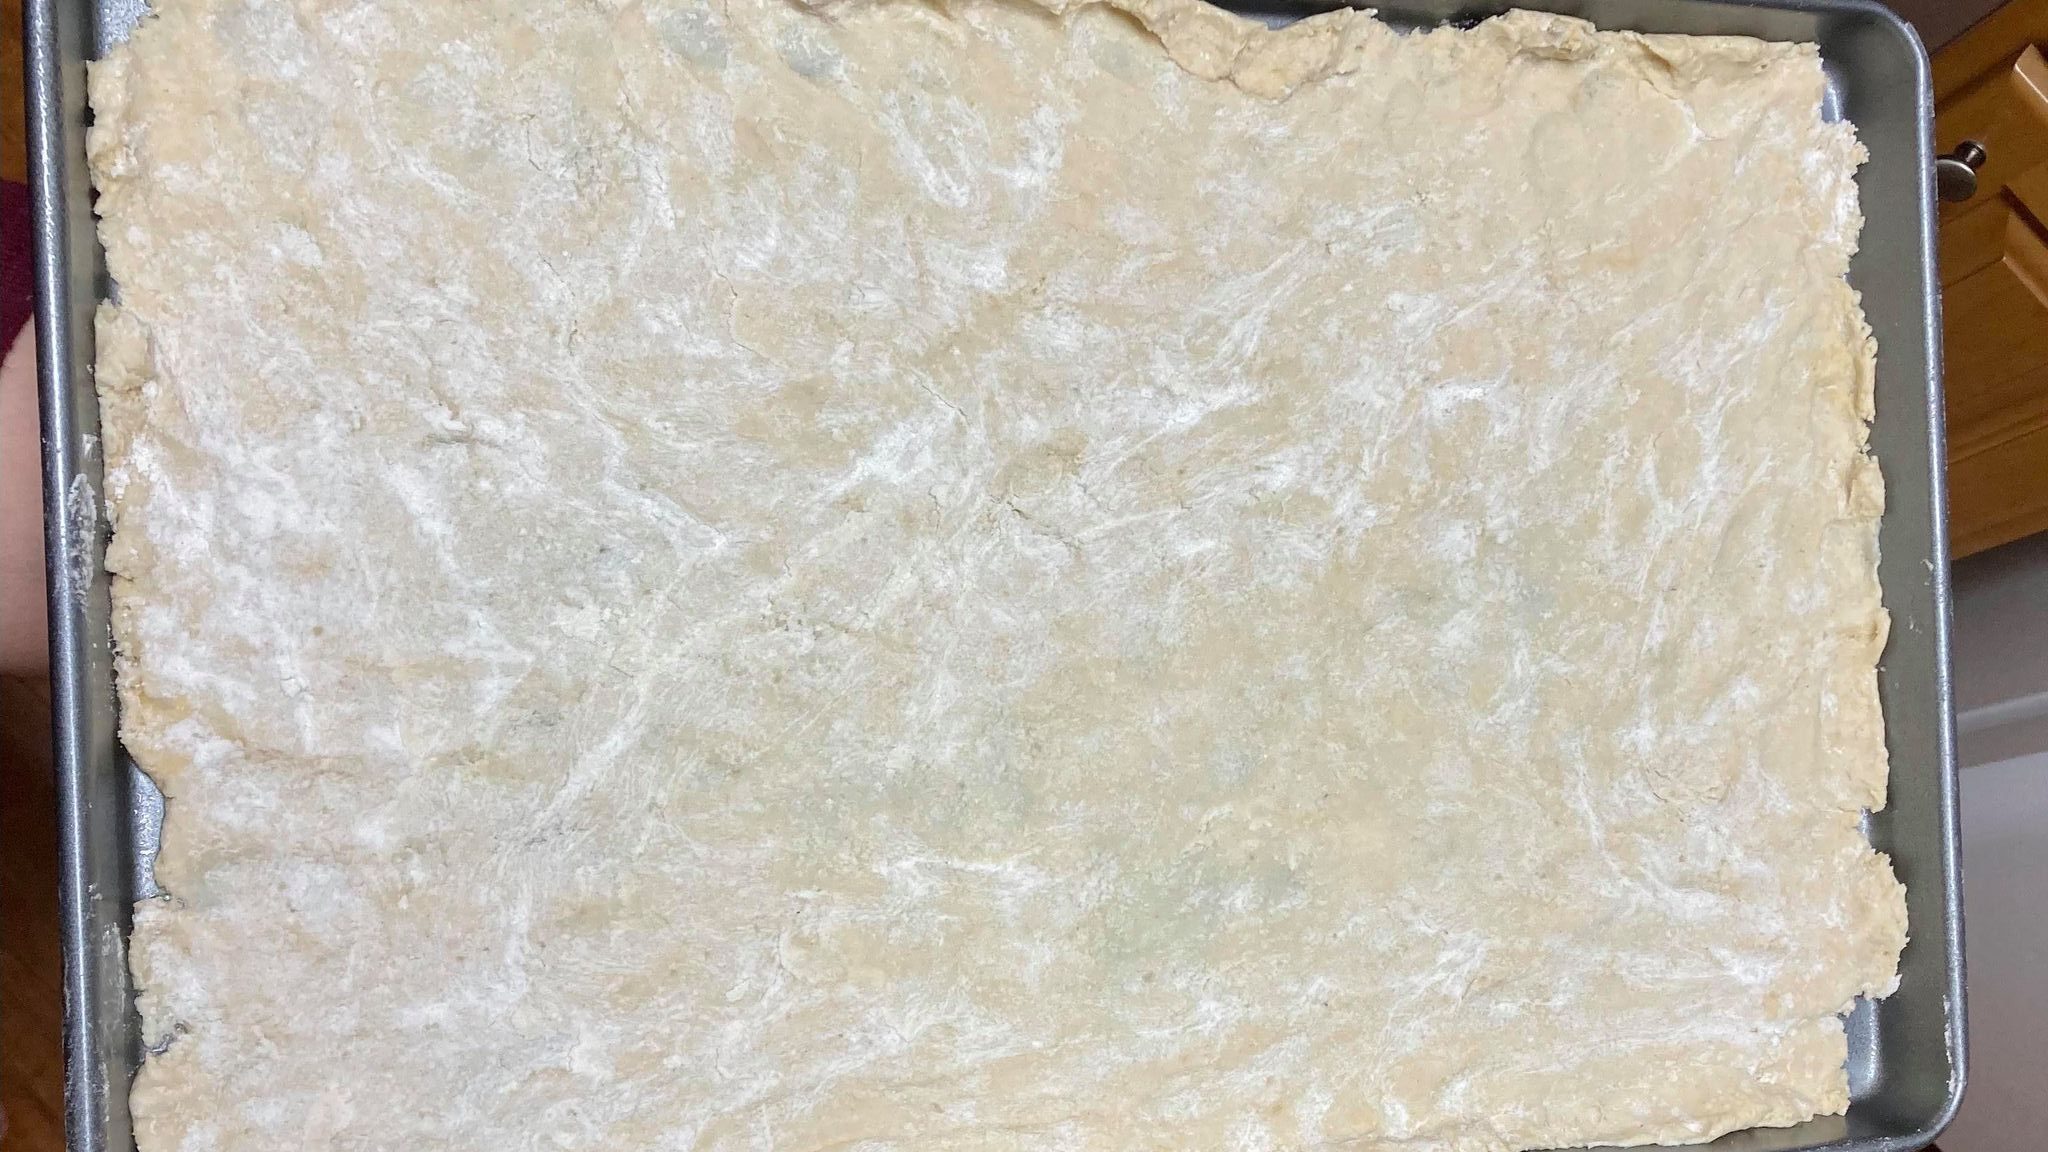
- Dump the dough mixture onto the tray
- Wet fingers or sprinkle dough with flour and begin to press the dough out onto the pan (I like to use flour when pressing my dough out as I think that it makes for less sticky dough, BUT be careful not to add too much flour as you don’t want to dry the dough out or have a bunch of excess flour on the pizza)
- Pre-bake the crust for 15 minutes without any toppings on it
- Top the pizza with your toppings of choice and bake for an additional 10-15 minutes depending on how done you want the toppings to be. (I also like to throw the pizza on broil for a few minutes at the end and crisp up the cheese and pepperoni)
When it comes to toppings you can be as free as you would like to be! I am pretty traditional and stick with a red sauce, mozzarella cheese, pepperoni and sausage. I like to make my own “homemade” sauce by opening up a can of organic tomato sauce and adding garlic, basil, oregano, fennel, etc. I usually just add things and taste as I go until I find a mix that tastes good.
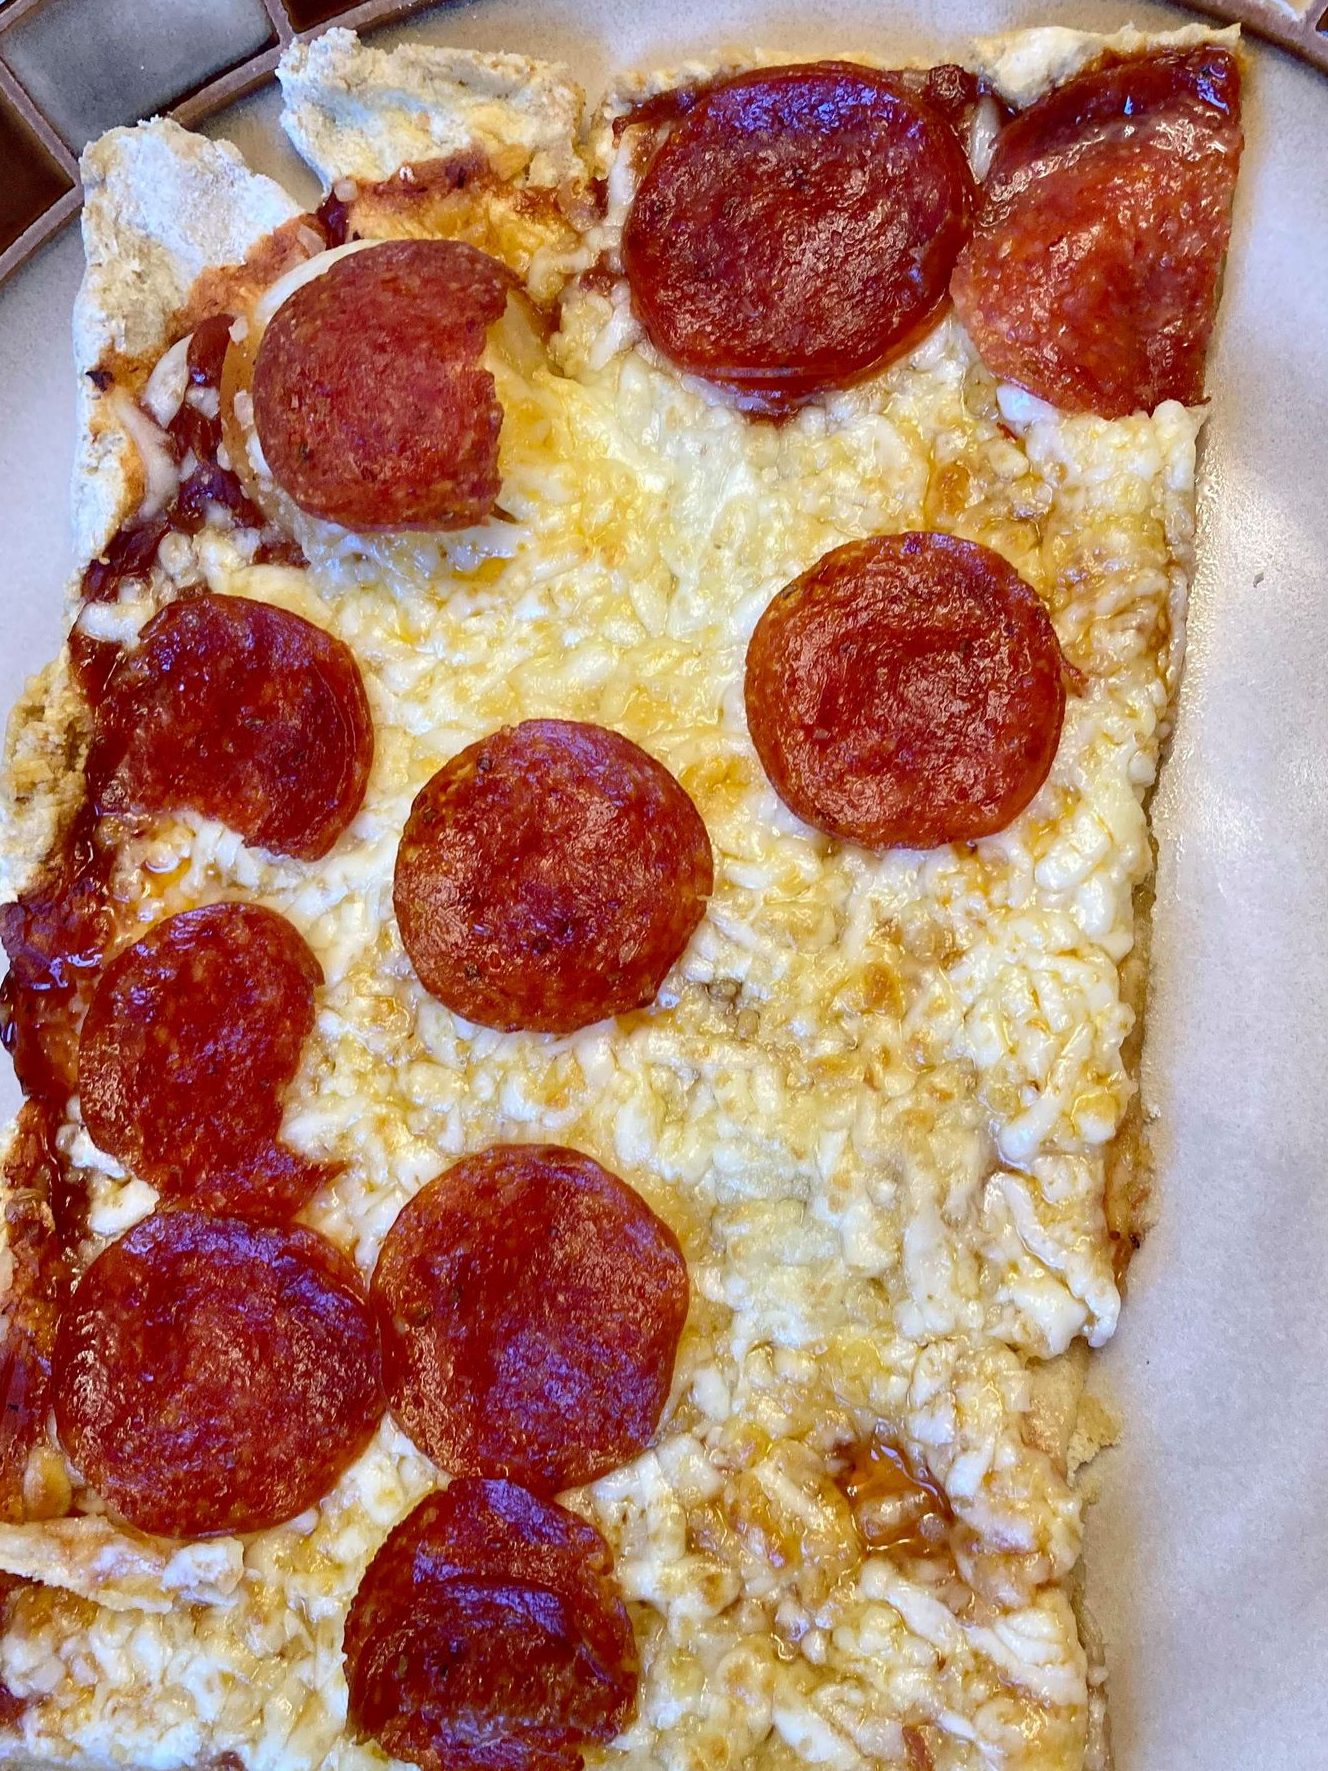
While this pizza may not be the most beautiful pizza you have ever seen it certainly does taste great for something that requires such minimal effort and ingredients. I am always being asked what I do for my pizza crust so I figured maybe someone somewhere else could also benefit from this post!
Happy baking and eating! As always, please let me know if you have any questions or if you have any input 🙂
